While wedding receptions have remained for the most part the same over the years, some…

Step by Step guide: How to Cane a Chair?
Contents
hide
Introduction
During those intense clean-up sessions – where you wake up one day and find yourself digging into the deepest corners of your garage by the afternoon until all the spaces are spotlessly clean – it is when you find the hidden gems. Old books? Containers of paint? Wooden planks? There is always a lot of stuff to experiment with.
Every once in a while, it is fun to explore new things. Making stuff on your own, working with new tools – sometimes, all such little steps feel amusing. However, this amusement can quickly take the shape of frustration when you are unsure about exactly what to do.
This often happens when you are working on one of those do-it-yourself projects and find yourself stuck at a particular point – wondering what to do next. Regardless, these DIY projects are some of the best side hustles or activities one can adopt. Whether after school or after long working hours, they help take your mind off your routine.
If you have a chair frame, you only need a few yards of cane to begin another fun project: caning a chair. Written below is a step-by-step guide to help you manifest the chair of your dreams:

Things you will need
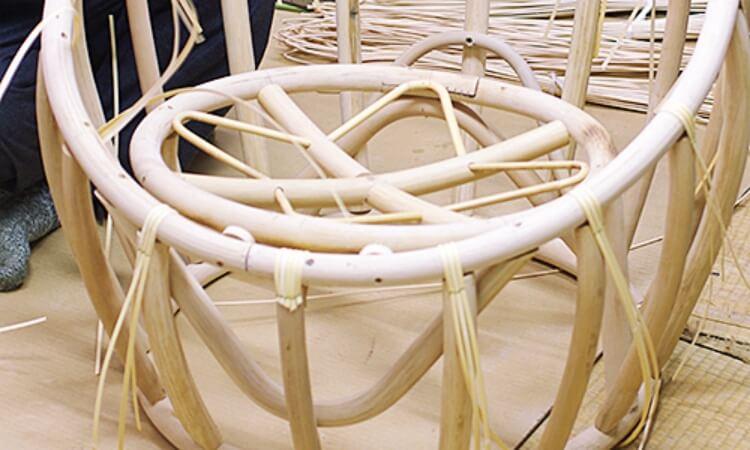
- Chair frame
Typically, it is a frame with a space in the middle and holes drilled throughout the sides or boundaries of the frame.
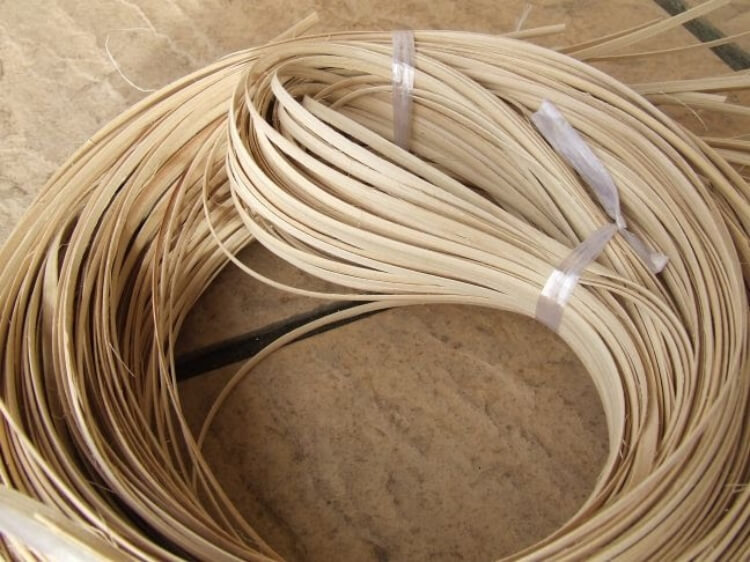
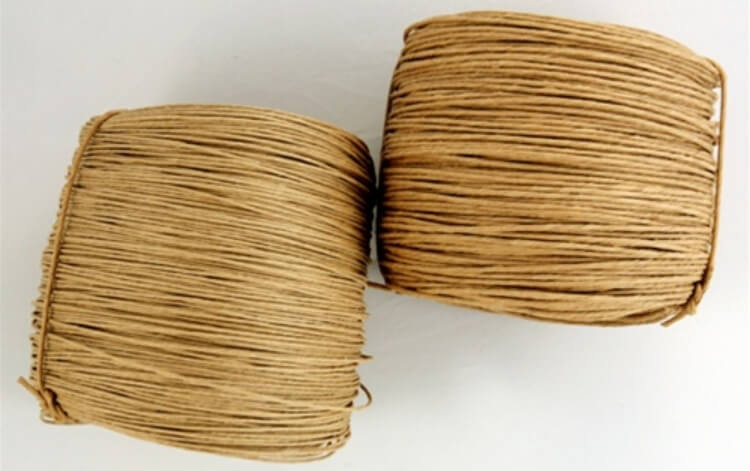
- Caning material
Rattan cane, rattan peel, reed, splint, wicker, etc
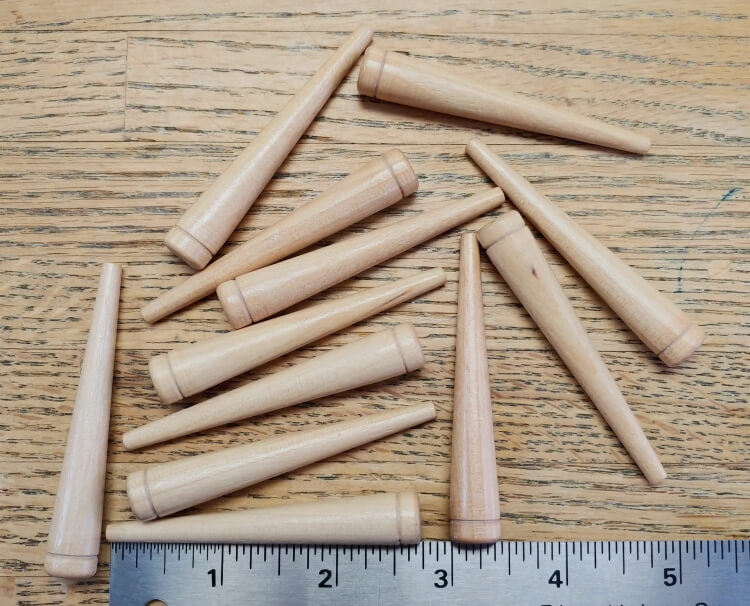
- Caning pegs
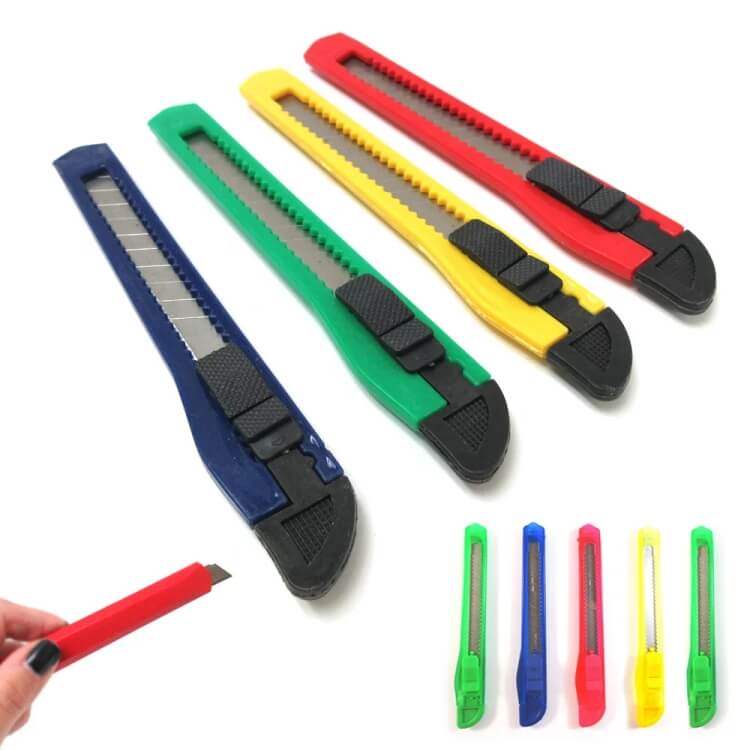
- A sharp knife or box cutter
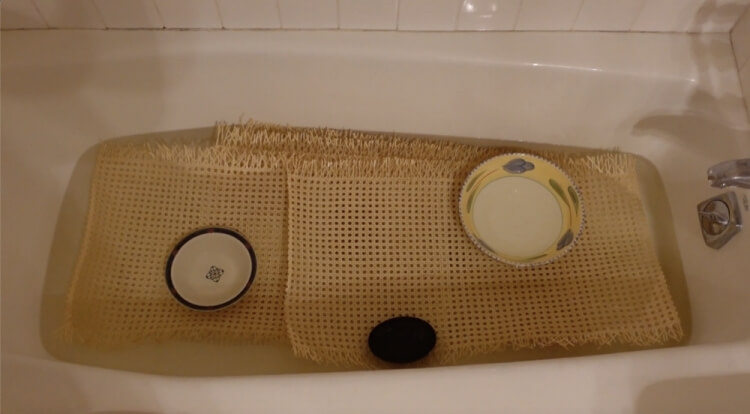
- A tub filled with water (to soak the cane)
Step 1: Material Prep
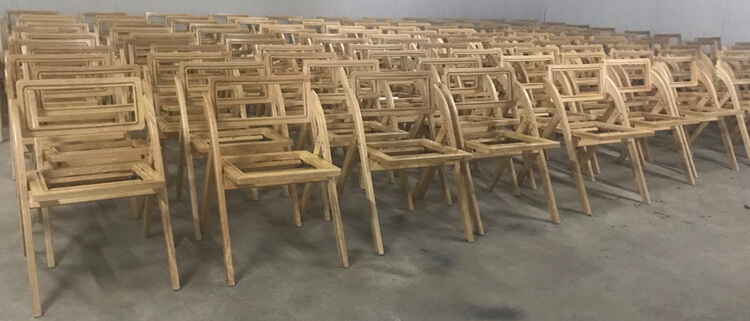
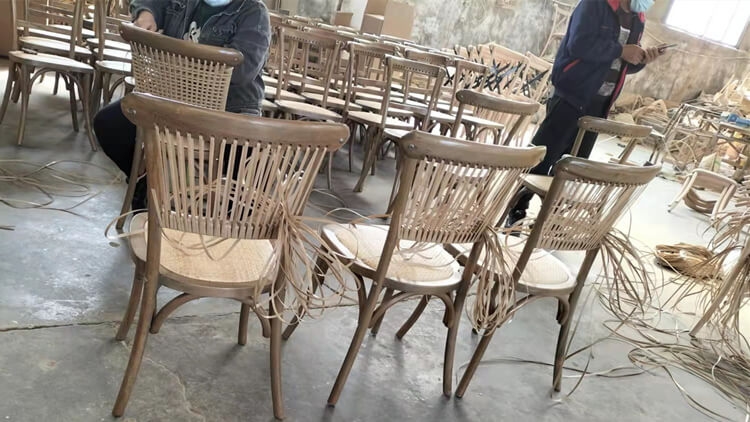
Choosing a Suitable Chair Frame
Every typical chair frame used for caning comes with holes drilled throughout the boundary of its empty middle. Some chairs allow the seats and the back frame to be caned, while others typically cater to either.
Therefore, you should pick a suitable chair frame depending on your preferences. You will easily find a variety of options at your nearest craft store. However, trying to DIY the chair frame by drilling holes manually would be a complete failure – so refrain from taking such risks.
Before purchasing the chair frame, the following are some preferable points that should be taken into consideration:
- Each hole should be drilled ½ inch apart from the one next to it and the one before.
- Each hole should be drilled at a distance of ½ inch from the open center of the frame.
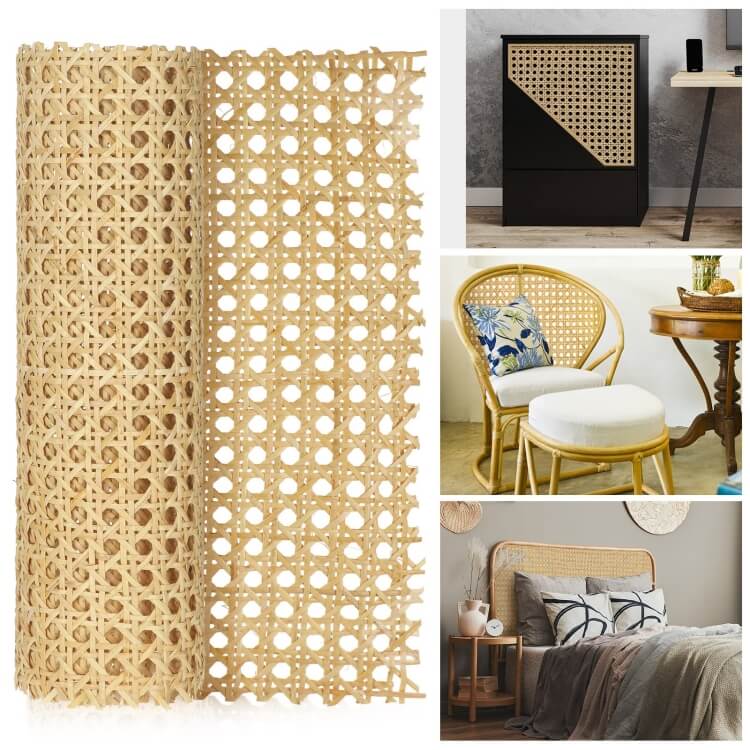
Choosing a Suitable Caning Material
Again, choosing a suitable caning material is based more on your personal preferences rather than the technicalities of the project. Therefore, the decision should be made based on your own choice, all while considering the following factors:
- The strength of the material.
- The color coordination of caning material with the chair frame.
- The texture coordination of caning material with the chair frame.
Some materials that can be used for caning are listed below:
- Rattan cane
- Rattan peel
- Reed
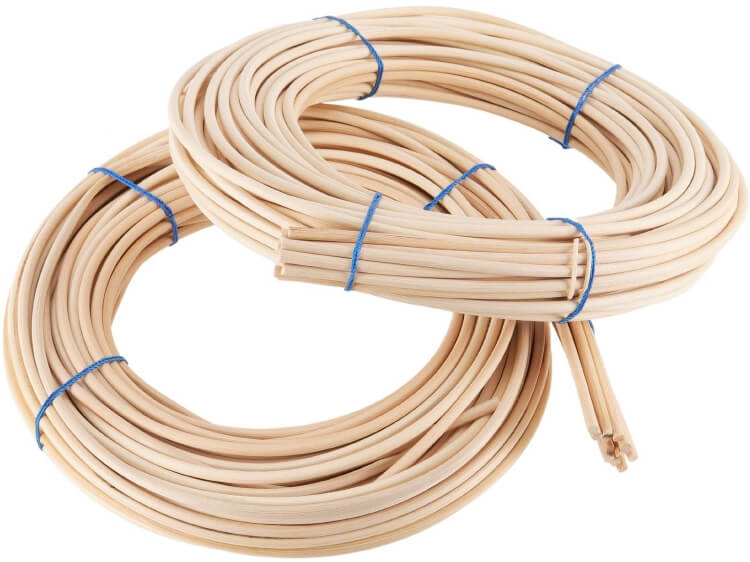
- Splint
- Wicker, etc
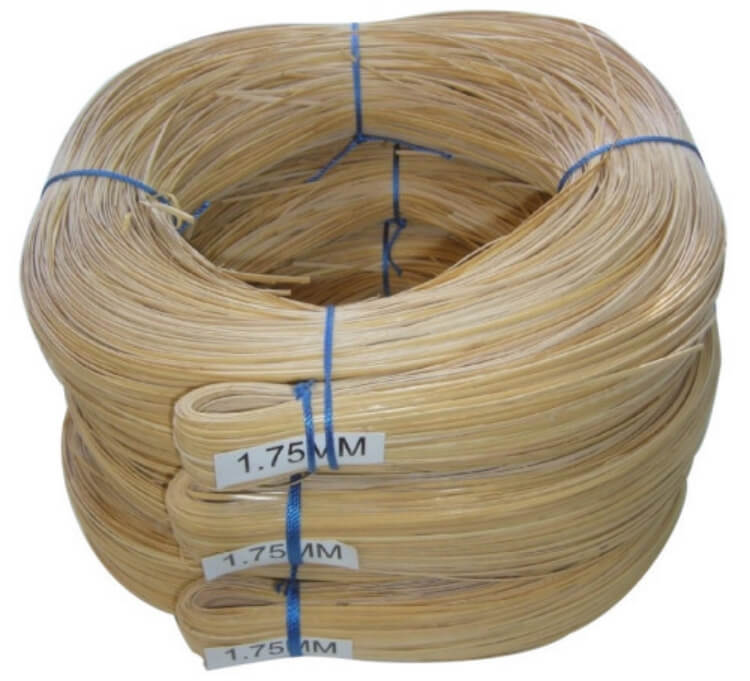
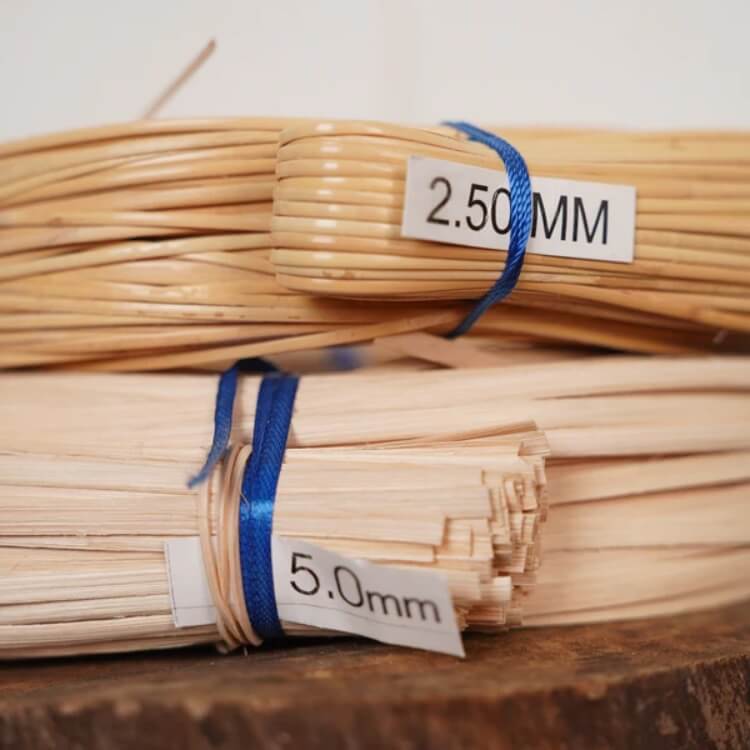
Continuation – Choosing a suitable thickness for the Caning Material
The thickness of the caning material is chosen based on the size of each individual hole and the distance between every two holes.
Therefore, if your holes are not ½ inch apart or ½ inch away from the center, as was suggested earlier – the following is a guide of some standard and common measurements that will come in handy for you.
- If the holes are 0.95 cm apart, with each hole being 0.95 cm itself – the thickness of the caning material should be about 0.20 cm.
- If the holes are 1.30 cm apart, with each hole being 0.48 cm itself – the thickness of the caning material should be about 0.23 cm.
- If the holes are 1.60 cm apart, with each hole being 0.48 cm itself – the thickness of the caning material should be about 0.25 cm.
- If the holes are 2.20 cm apart, with each hole being 0.79 cm itself – the thickness of the caning material should be about 0.36 cm.
Things to keep in consideration
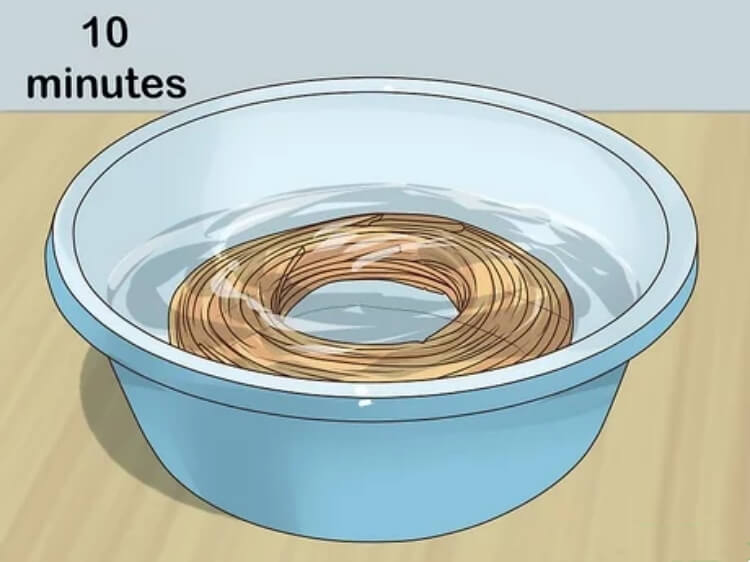
- Soaking the caning material in water is essential before beginning the project. This makes it much more pliant and flexible. The soaking period for most materials is between 10 to 15 minutes. However, the reed and splint must be soaked for at least 40 minutes before use to achieve the best results.
- After soaking, check for any broken or damaged strands. Ideally, all of them should be identical, with no major breakouts. Also, no strand should be too thin or too thick at one particular point.
A standard thickness should be maintained throughout. Therefore, you should discard the strands that fail to meet this criterion.
- It is necessary to keep the orientation in mind if you use a material with one glossy side and the other matte. Ideally, when the chair is in its usual position, the glossy side of the cane on the seat should be facing upwards—similarly, the glossy side on the back towards the front. However, if both sides of your caning material are identical – you do not have to worry about this.
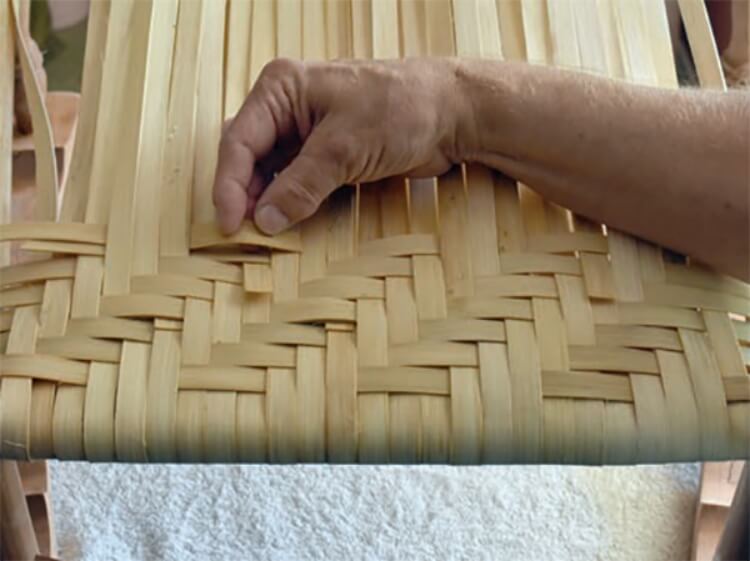
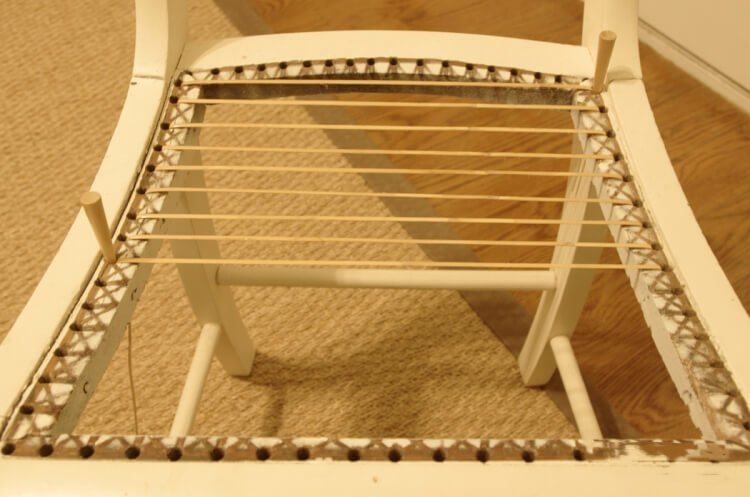
Step 2: Weaving Through The Vertical Orientation
You can begin weaving the caning material into the holes either vertically or horizontally. If you want to do the horizontal side first, follow the same steps but change the orientation of the chair frame. However, traditionally, the first layer is always vertical.
Stated below are the steps to follow when weaving the first vertical layer.
1)Start by weaving a strand into the central hole on the back of the frame. Let about 5-6 cm of the cane fall below through the hole, and secure the latter with a canning peg. Next, pull the other end of the string through the central hole on the front of the frame, and secure it with another peg.
2)Through the bottom of the central hole on the front, lace the strand into the hole on the left and bring it upwards. Pull it to the hole in a similar position on the back. Make sure to secure all the holes with canning pegs.
3)Continue this process throughout the left side of the frame. In simple words:
- From the hole next to it, bring the strand up a hole.
- Pull it taut, and secure it with a peg.
- Pull it to the opposite end of the frame and bring it down through the hole on the other end.
- Pull it taut, and secure it with a peg.
- Repeat the process until the left side has been weaved completely. However, make sure to skip out the corner holes on the top and bottom sides of the chair frame.
4)When you reach the end of the left side, weave the strand through the last hole multiple times and then tie a knot to secure it.
5)Similarly, a knot can be tied to extend the strand if it runs out before completing a side.
6)On the back of the frame, weave another strand into the hole on the right of the one in step 1. Follow the same technique and let about 5-6 cm of the cane fall below through the hole. Then, secure it with a canning peg.
7)Following the same procedure used to weave from the center to the left, now weave the right side of the frame.
Make sure all the strands go down the holes on either the front or back sides and come up the opposite side.
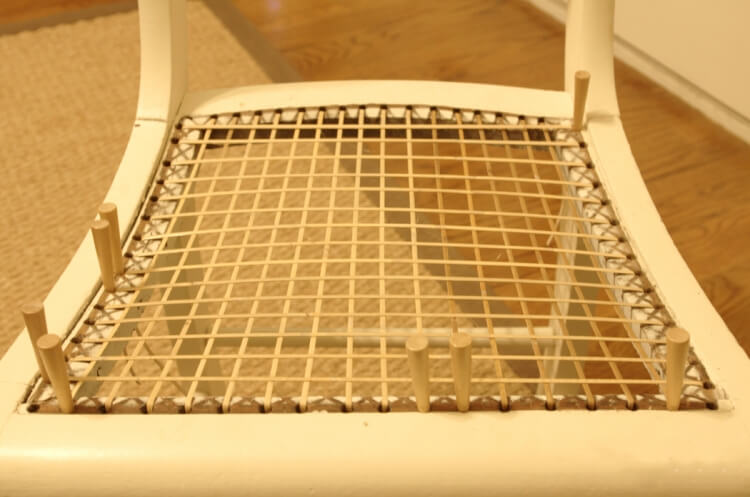
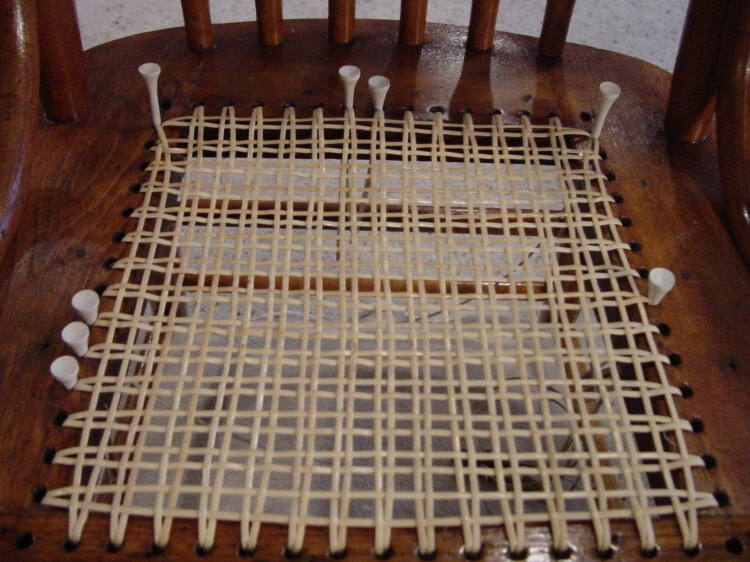
Step 3: Weaving Through The Horizontal Orientation
Now consider the right and left sides of the chair frame as the front and back in the previous steps, and start weaving a horizontal layer.
- Start by weaving a strand into the frame’s central hole on the right side. Let about 5-6 cm of the cane fall below through the hole, and secure the latter with a canning peg. Next, pull the other end of the string upwards through the central hole on the left side of the frame, and secure it with another peg.
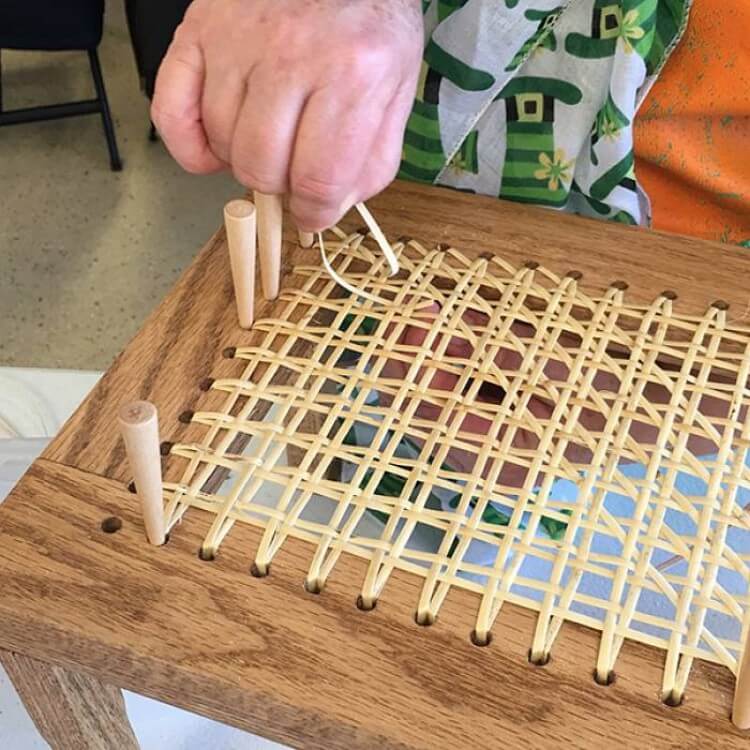
- Follow the same procedure throughout the layer:
From a hole next to it, bring the strand upwards. Pull it taut, and secure it with a peg. Pull it to the opposite side of the frame and bring it down through the hole directly opposite to it. Repeat the process until the horizontal orientation has been weaved completely.
Step 4: Add The Second Vertical Layer
For this third layer, start weaving the strands from the hole on the right of the one situated at the left corner of the back frame.
Continue weaving vertically until you reach the other end of the frame. On the last hole, create many loops of the caning strand and tie a knot to secure this layer.
Step 5: Add The Second Horizontal Layer
Begin from the hole next to the one situated at the top-left corner. Weave across the horizontal plane by pulling the strand between both vertical layers.
In practice, this fourth layer should be situated below the first layer and above the third layer.
Step 6: Weaving Through The Diagonal Orientation
At the back of the frame, weave a strand through the hole on the right corner across to the bottom hole on the left side of the frame. While doing so, ensure the strand is passed above the two vertical layers and below the two horizontal ones.
Then pull the strand upwards from the hole on the right of that in the last step, and take it back to the hole just below the right corner hole in the back. Continue weaving the strands this way until you have swerved from the right to the diagonal center of the frame.
Next, work from the left corner hole on the front of the frame similarly until you have entirely woven the left side.
Step 7: Weaving Diagonals in The Opposite Direction
In practice, this will be the 6th layer.
Start this layer from the hole in the left corner of the back of the frame, and weave it across to the hole above the hole in the right corner of the front. Again, pull it upwards through the hole right above it, and weave it back to the one on the right of the left hole on the back of the frame.
While doing so, ensure the strands are passed such that they are situated below the two vertical layers and above the two horizontal ones.
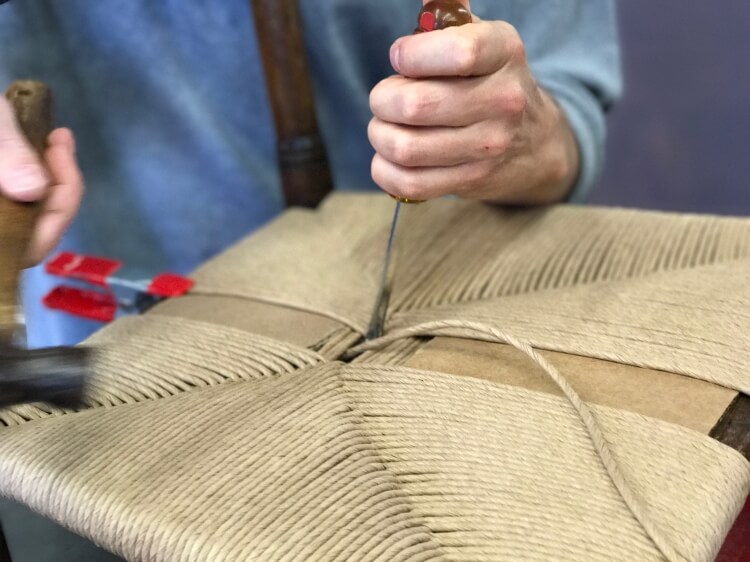
Step 8: Finishing Touches
Once you are done with all six layers, look for any free strands at the bottom of the chair and tie them to nearby vertical strands. If they are longer, loop them through the vertical strands twice or thrice before tying them up.
Once all loose strands have been tied up, remove all the pegs from all the strands.
Helpful Caning Tips
- You will need individual strands of the caning material. So, if the latter comes as a spool, use a box cutter or sharp knife to cut it into about 7-meter-long strands before you begin working.
- The total length of the caning material that has to be purchased should be calculated based on the whole circumference of the frame.
Make sure to buy double the amount if you are planning on caning both the seat and the back frame.
- To ensure a longer life of the chair, ensure that the cane is never kept under direct sunlight or in areas with low humidity.
Conclusion
To summarize the whole concept, the seven steps are listed below:
- Step 1: First Vertical layer
- Step 2: First Horizontal layer
- Step 3: Second Vertical layer
- Step 4: Second Horizontal layer
- Step 5: First Diagonal layer
- Step 6: Second Diagonal layer
- Step 7: Weaving the Loose strands
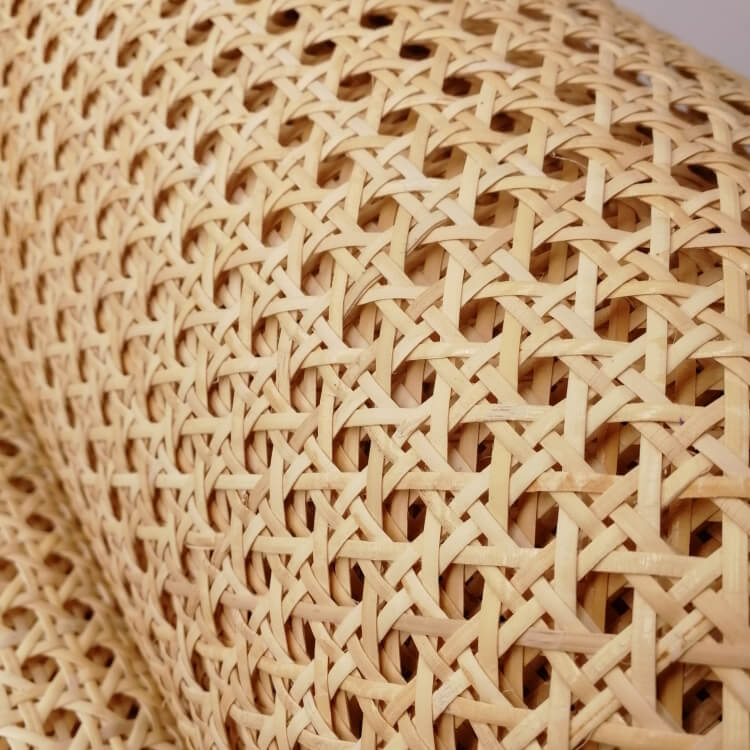
Called the Octagon pattern, this eight-sided pattern produces one of the most durable seats. Being one of the most common patterns, it is traditionally referred to as the ‘7-step method’, which each step discussed above in great detail.
Therefore, if you are looking for durability and constancy together with stability, this pattern is one of the best choices you can opt for. Although it is time-consuming, the results are promising and long-lasting.
Now that you have a perfect guide at hand, you can begin this exciting do-it-yourself project on your own.
Related Posts


Comments (0)